Exposing Web Services to the World with K3S + Cloudflare Tunnel

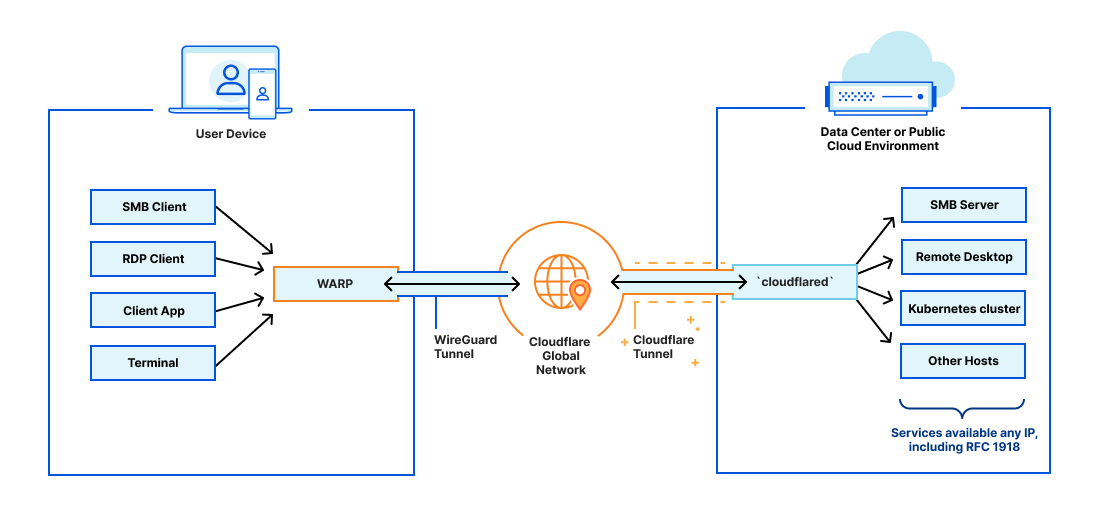
If you have a home lab or a service in K3S/K8S that you want to expose to the world, but you don’t have a public IP, what can you do? Especially in today’s world where ISPs often provide Carrier-grade NAT, or what’s commonly known as large-scale NAT (LSN), making it difficult to update IPs with DDNS. This is where the hero of this article comes in.
What is Cloudflare Tunnel?
Creating a Cloudflare Tunnel
You need to have at least one domain linked to Cloudflare.
Start by enabling it at https://one.dash.cloudflare.com/
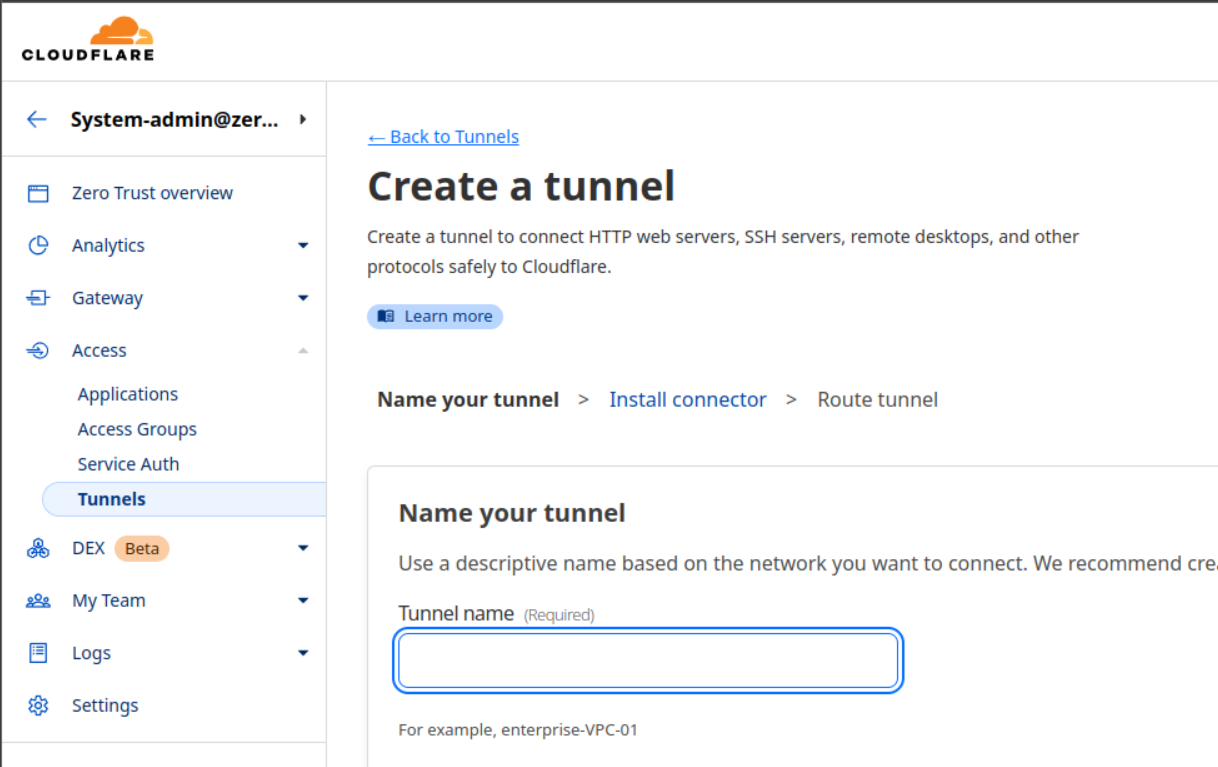
Then go to Access > Tunnels > Create a tunnel
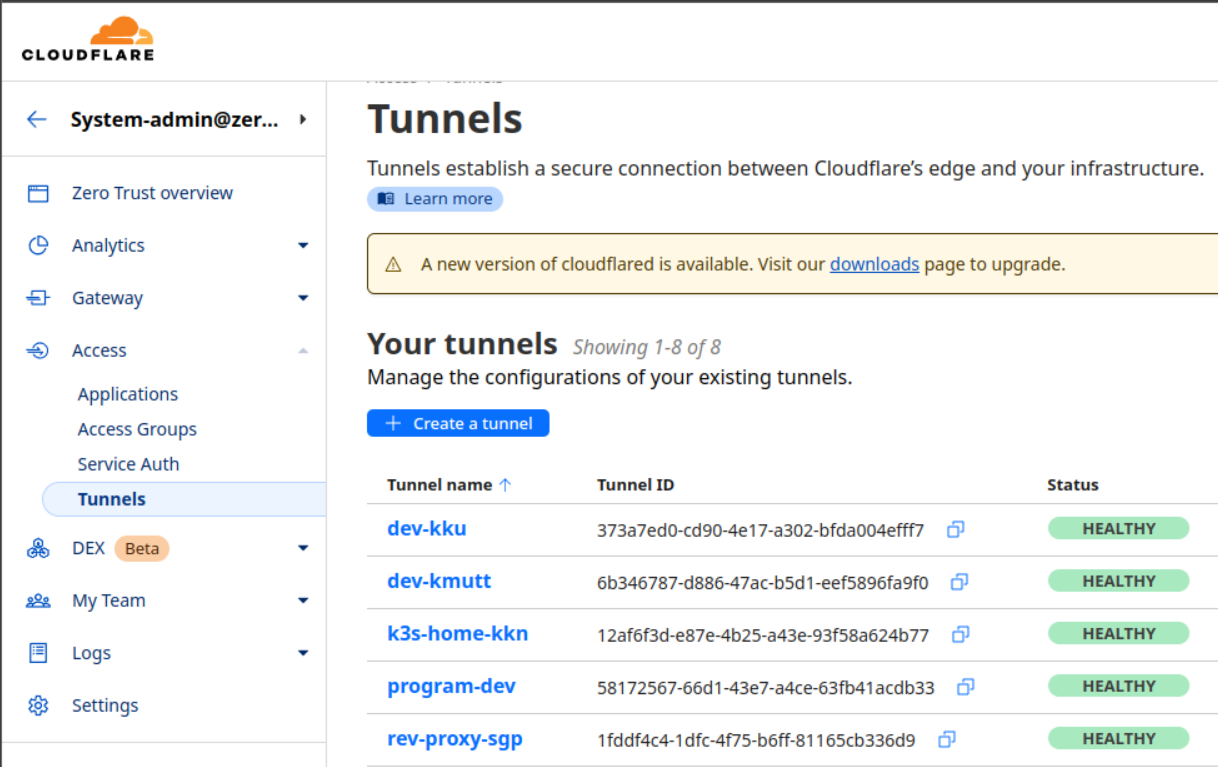
Name your Tunnel
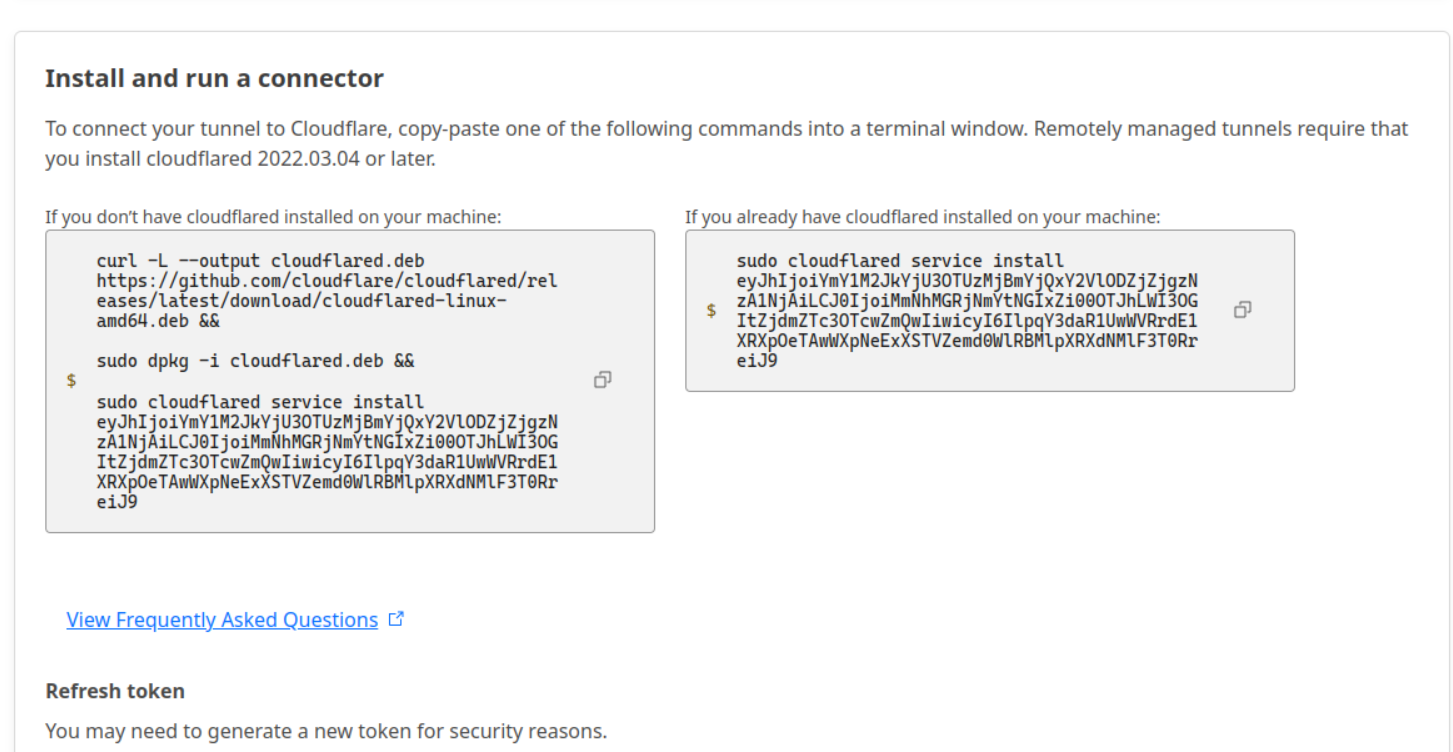
Get the tunnel token to put into a kube secret when deploying.
Deploying Cloudflare Tunnel on K3S/K8S
Create a cloudflared-daemonset.yml file like this, by converting the tunnel token to base64 and putting it in a secret named cf_tunnel_token.
Then deploy with:
kubectl apply -f cloudflared-daemonset.yml
Exposing services to the outside world
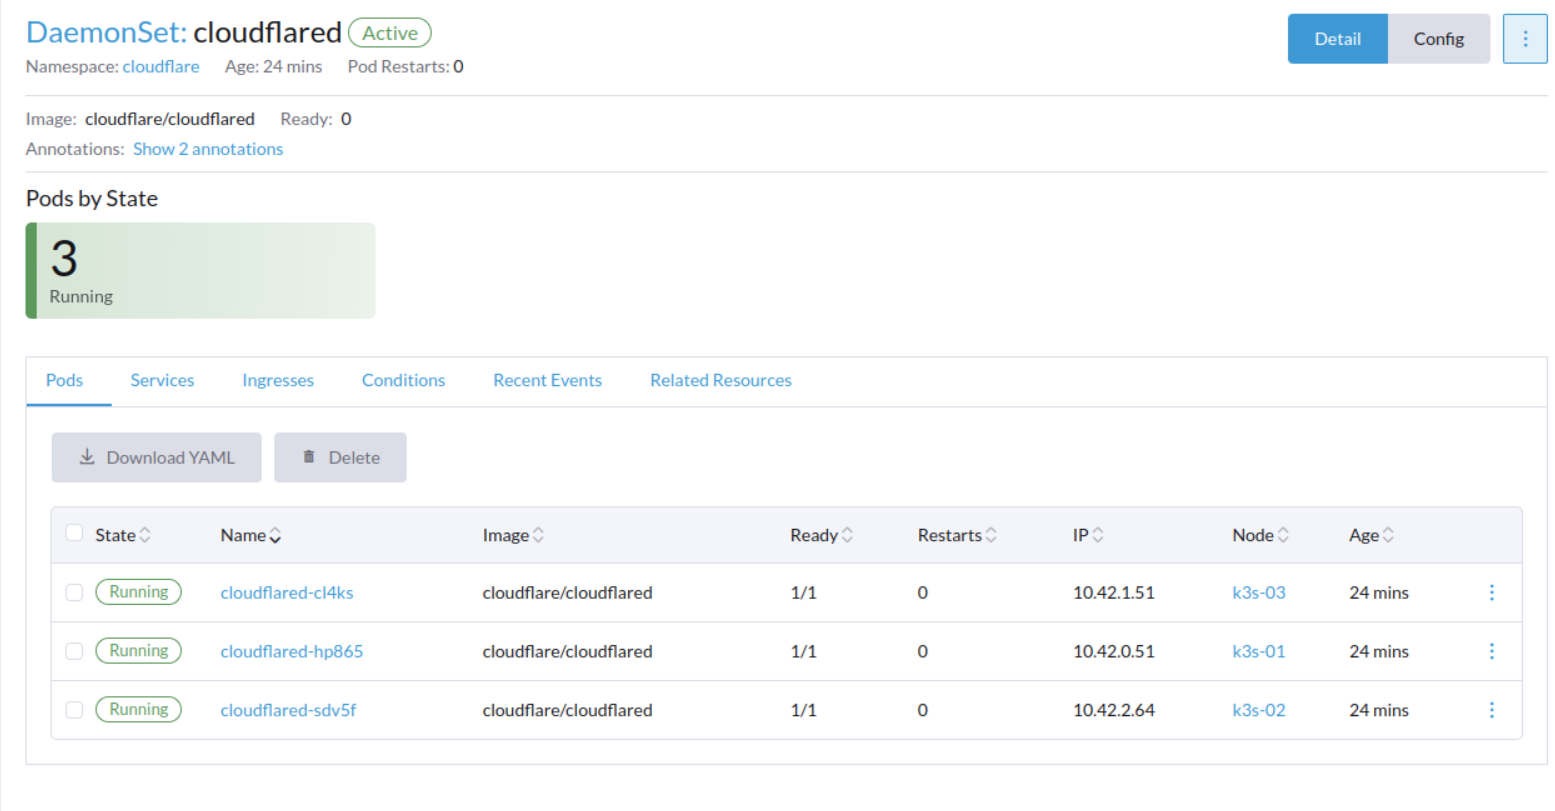
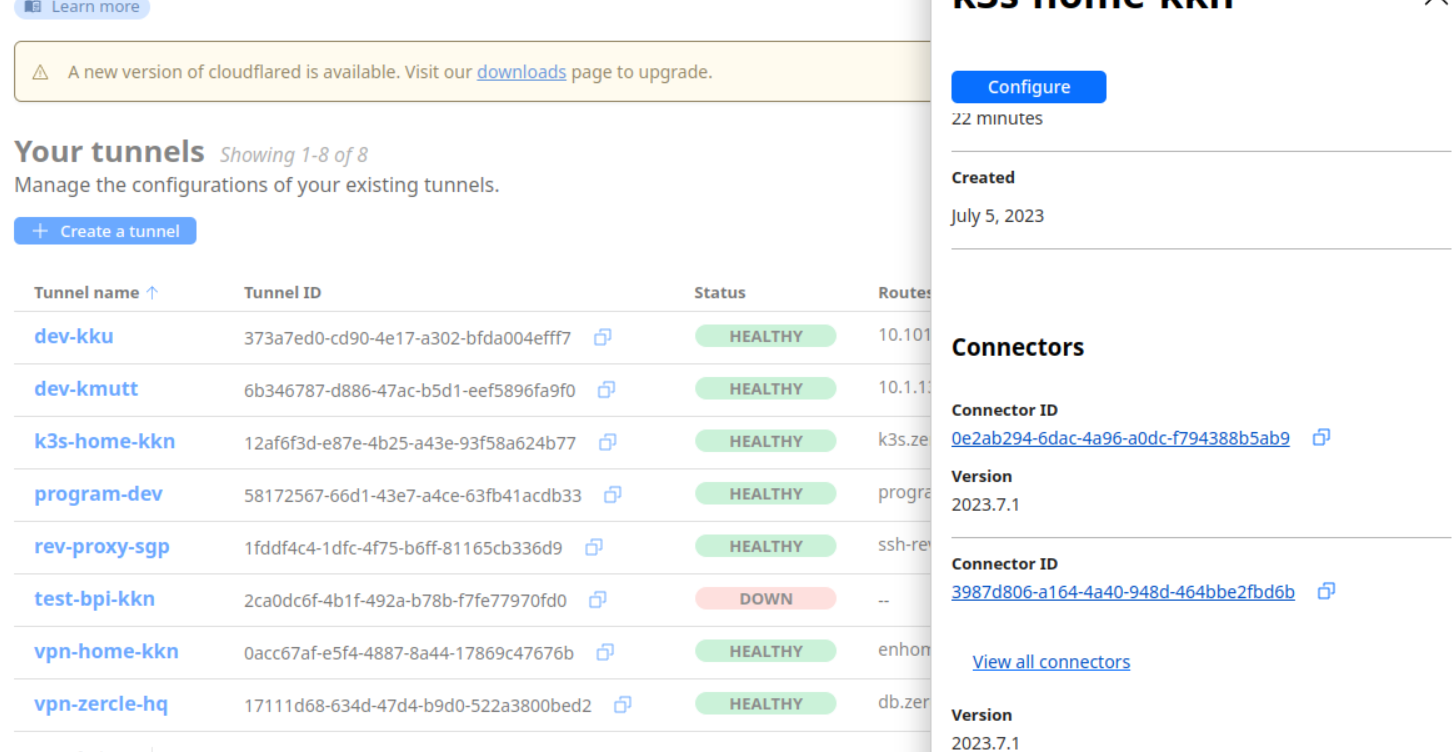
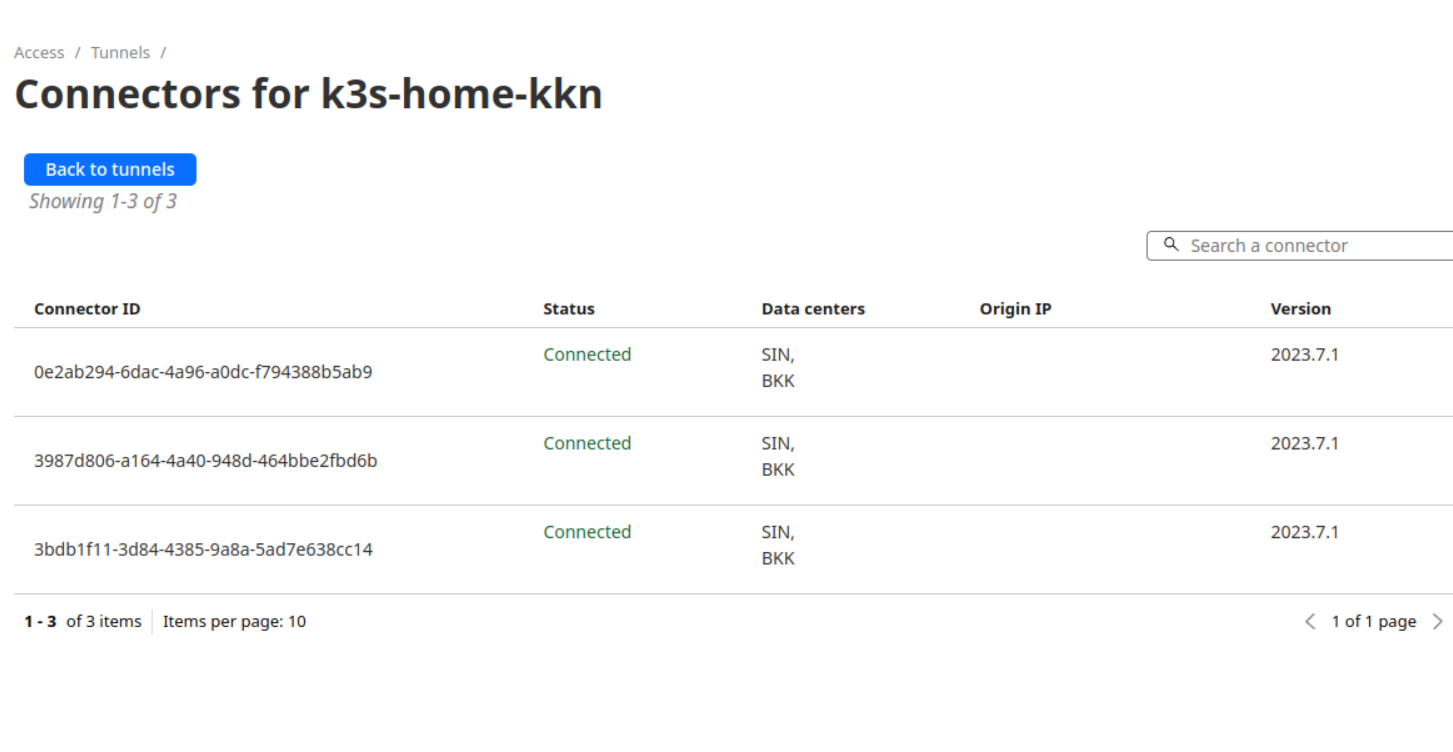
Check the status in the Cloudflare One dashboard to confirm that your tunnel is connected.
It’s like having a kube-proxy + load balancer all in one!
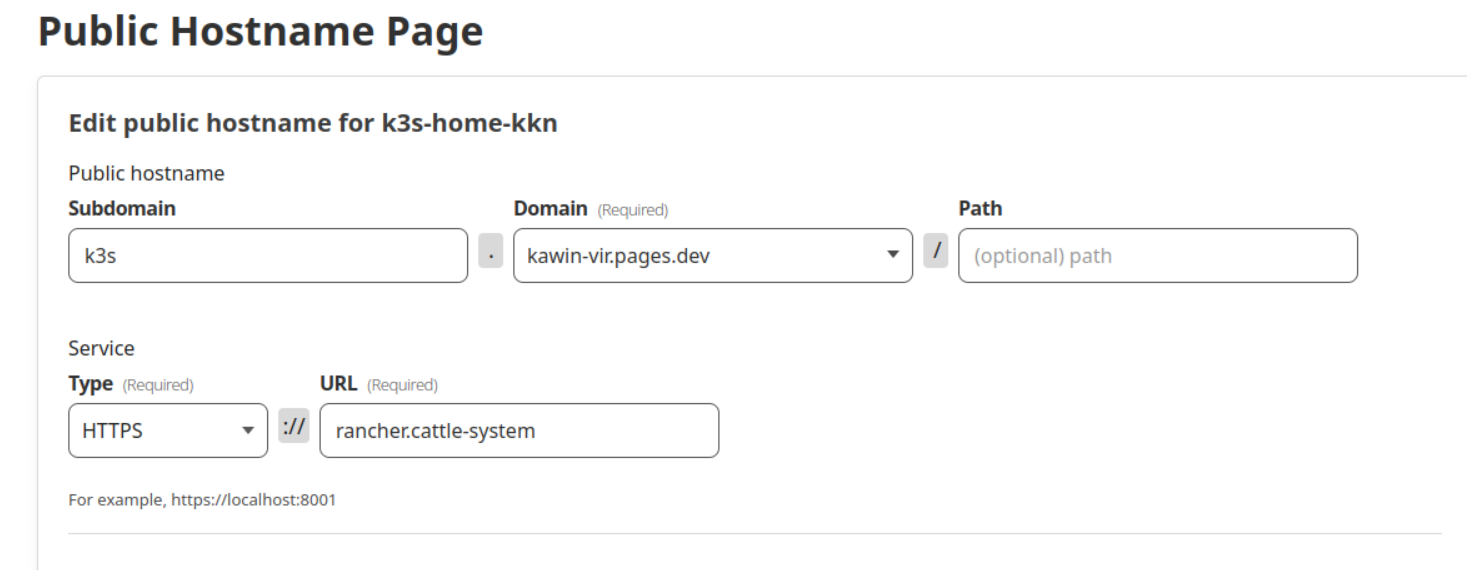
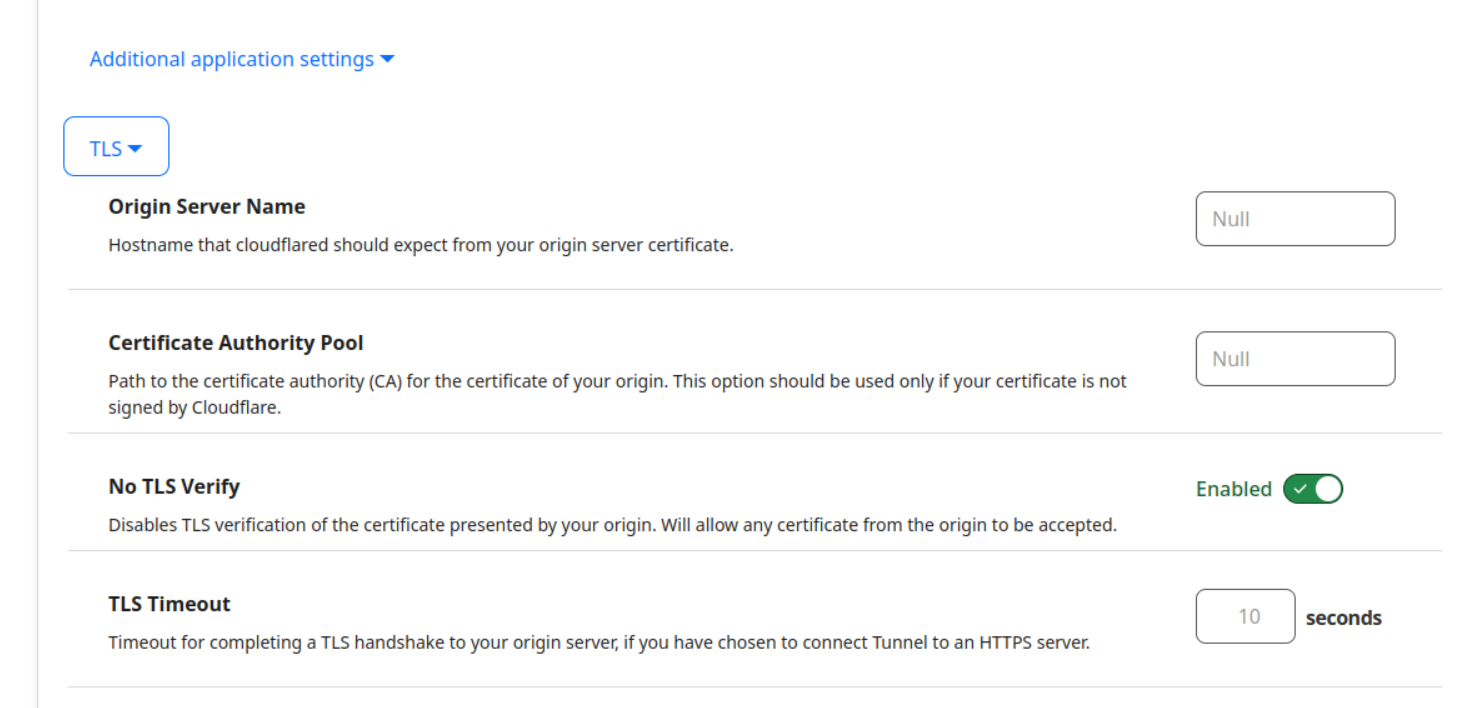
Then we can reverse proxy to our service in the cluster, for example, service_name.namespace, such as https to rancher on the cattle-system namespace, as shown in the image.
Testing the service access